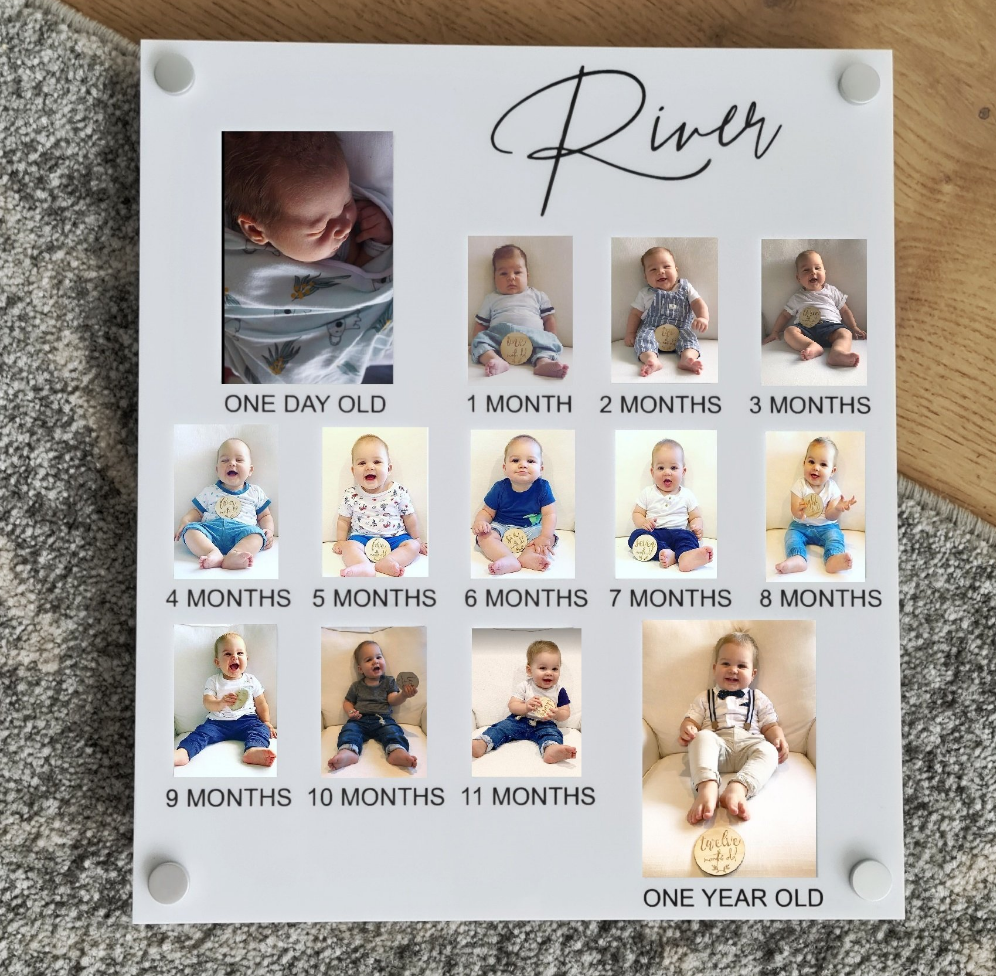
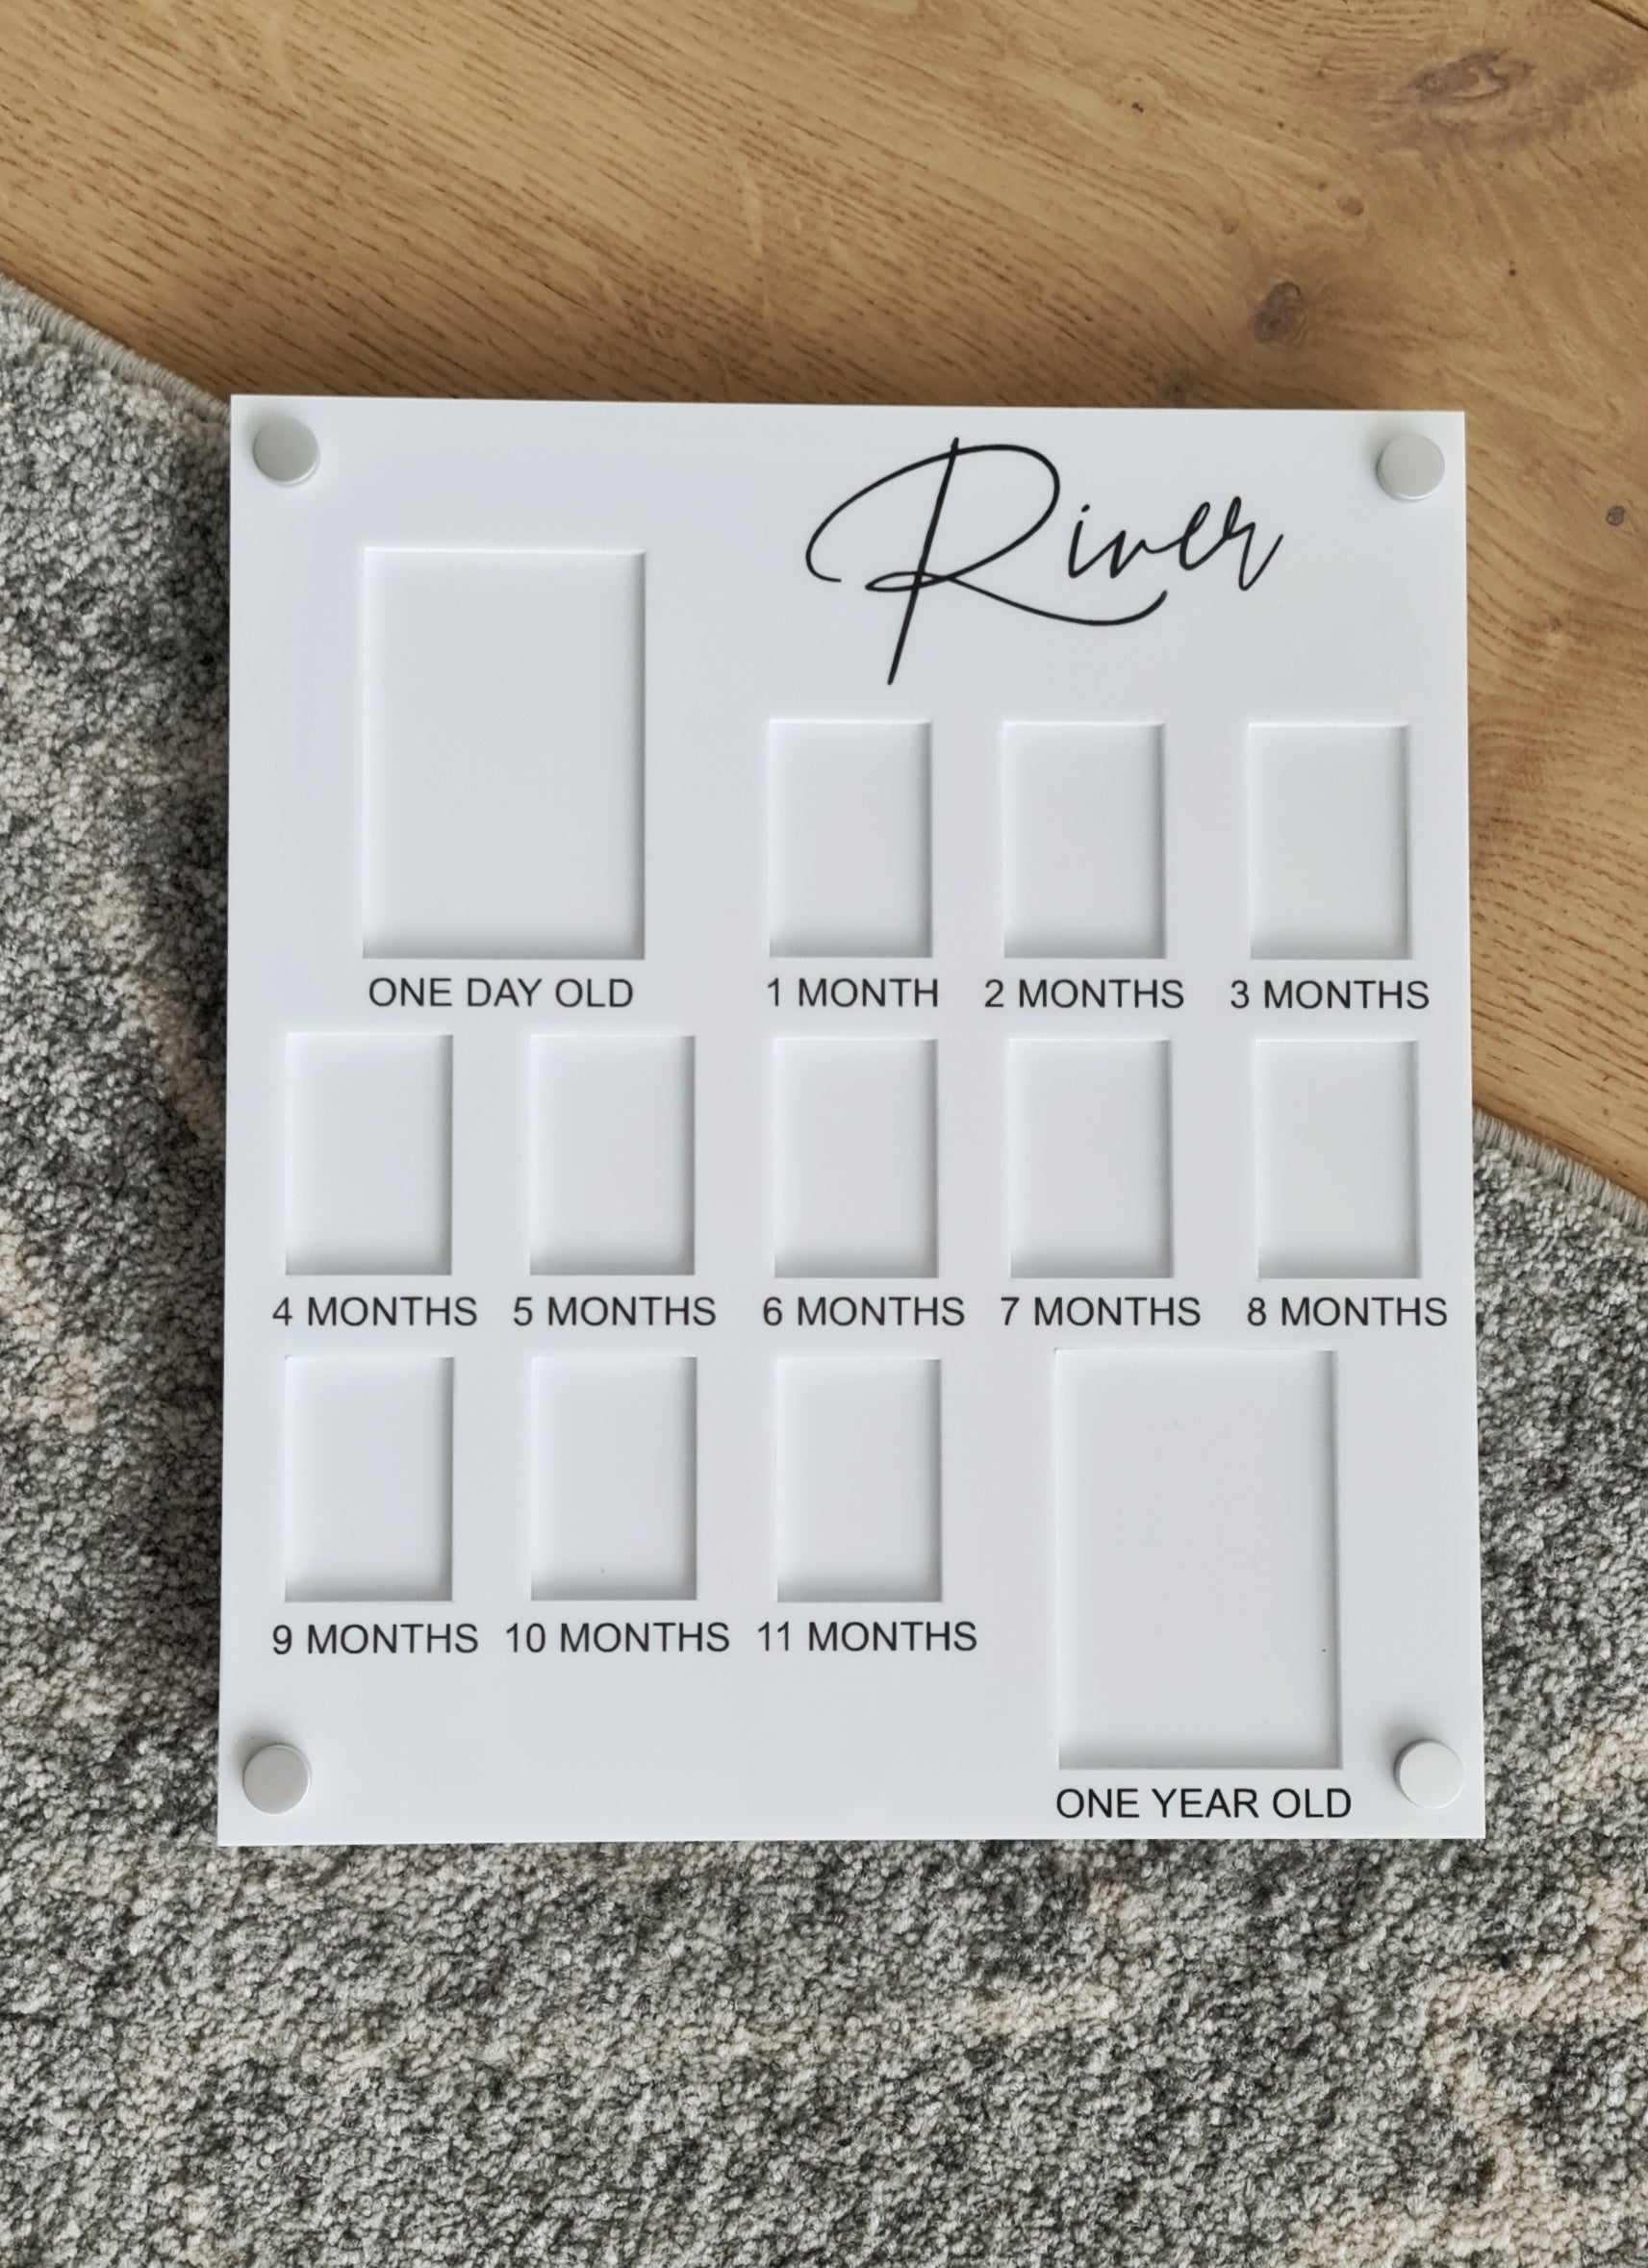
Our "First 12 Months - Wall Mounted Frame" is the perfect item to showcase your Childs life during their first year being on this earth.
Look at how much they have grown and changed in such a short amount of time.
A beautiful item to have on display at their first birthday party, and then to keep in their room as a special keepsake.
To stick the photos in, you can simply sticky tape the edges to the back of the acrylic face with the photo openings.
To mount the frame to the wall, please scroll down to read how to install with the wall mounts provided. Alternatively, it can be leant up against the wall while on a desk or shelf.
FEATURES:
13x photo spaces
Personalised
White frame
Black Text - name & ages
4x wall mounts (wall screws not included).
2x acrylic pieces, held together by the wall mounts.
WALL MOUNTS:
You can choose between gold, silver, black or white stand off mounts to a attach the planner to your wall.
Please scroll down for instructions.
SIZE:
Overall frame size:
28 x 24.5cm
Pre-Primary & Year 12:
2x photo spaces: 8.1 x 5.5cm. Made to fit 2R / Wallet sized photos
Year 1 - Year 11:
11x photo spaces: 4.7 x 3.2cm. Made to fit Passport sized photos
HEADER TEXT:
Childs name - Please leave this in the text box provided.
How to wall mount me with the provided standoffs.
The standoff mounts provided come in packs of 4x, one for each corner. Each mount itself consists of 2x pieces which screw together.
Step 1: Unscrew all 4 of the mounts.
Step 2: Grab a friend.
Step 3. Hold the planner in position on the wall and use a pencil to mark the centre of each hole in the planner on the wall.
Step 4: Pop the planner down, and grab a hollow piece of the standoff mounts.
Step 5: Drill a screw (not included) through the hollow piece where you made the marks on the wall. Depending on your wall type, you may need a wall mate etc. Drilling a pilot hole first can also be useful.
Step 6: Repeat step 5 until all 4 hollow pieces are screwed to the wall.
Step 7: Hold the planner in place in front of the mounts on the wall, and thread in the remaining 4x pieces of the mounts.


